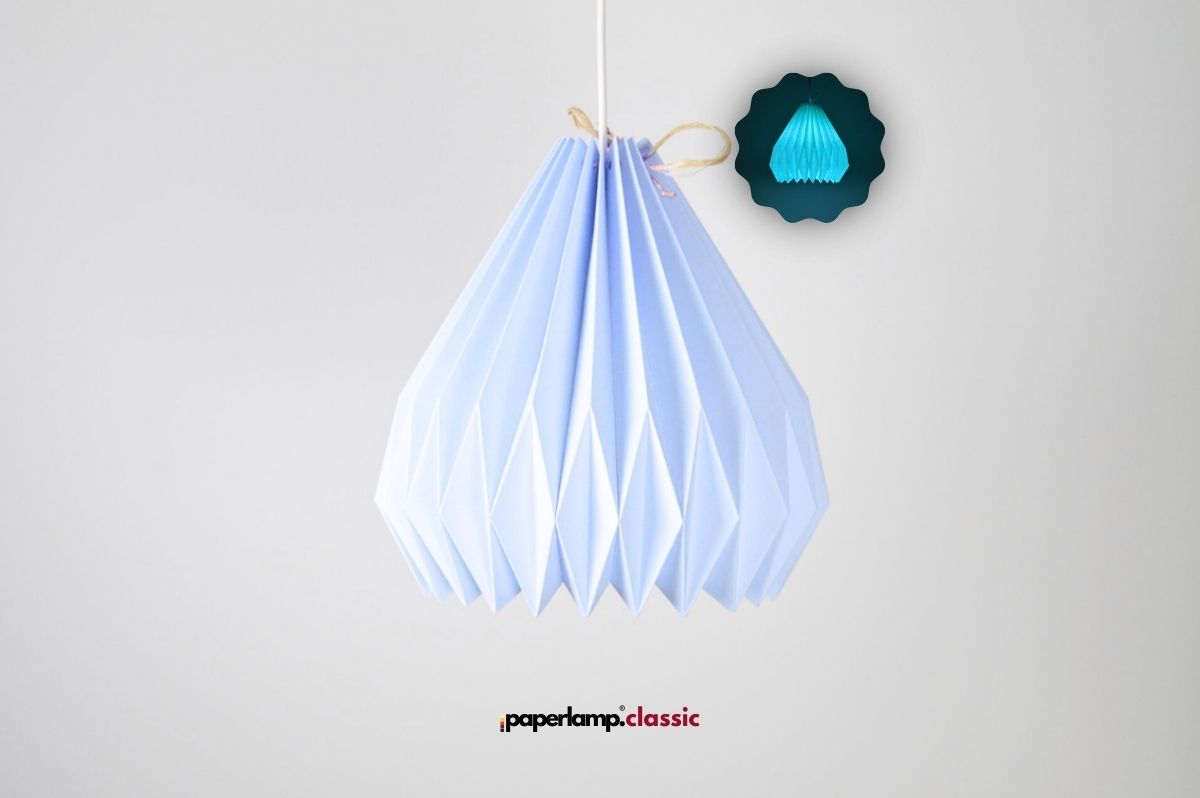
Gluing the Paper Lamp
Not finished folding yet?
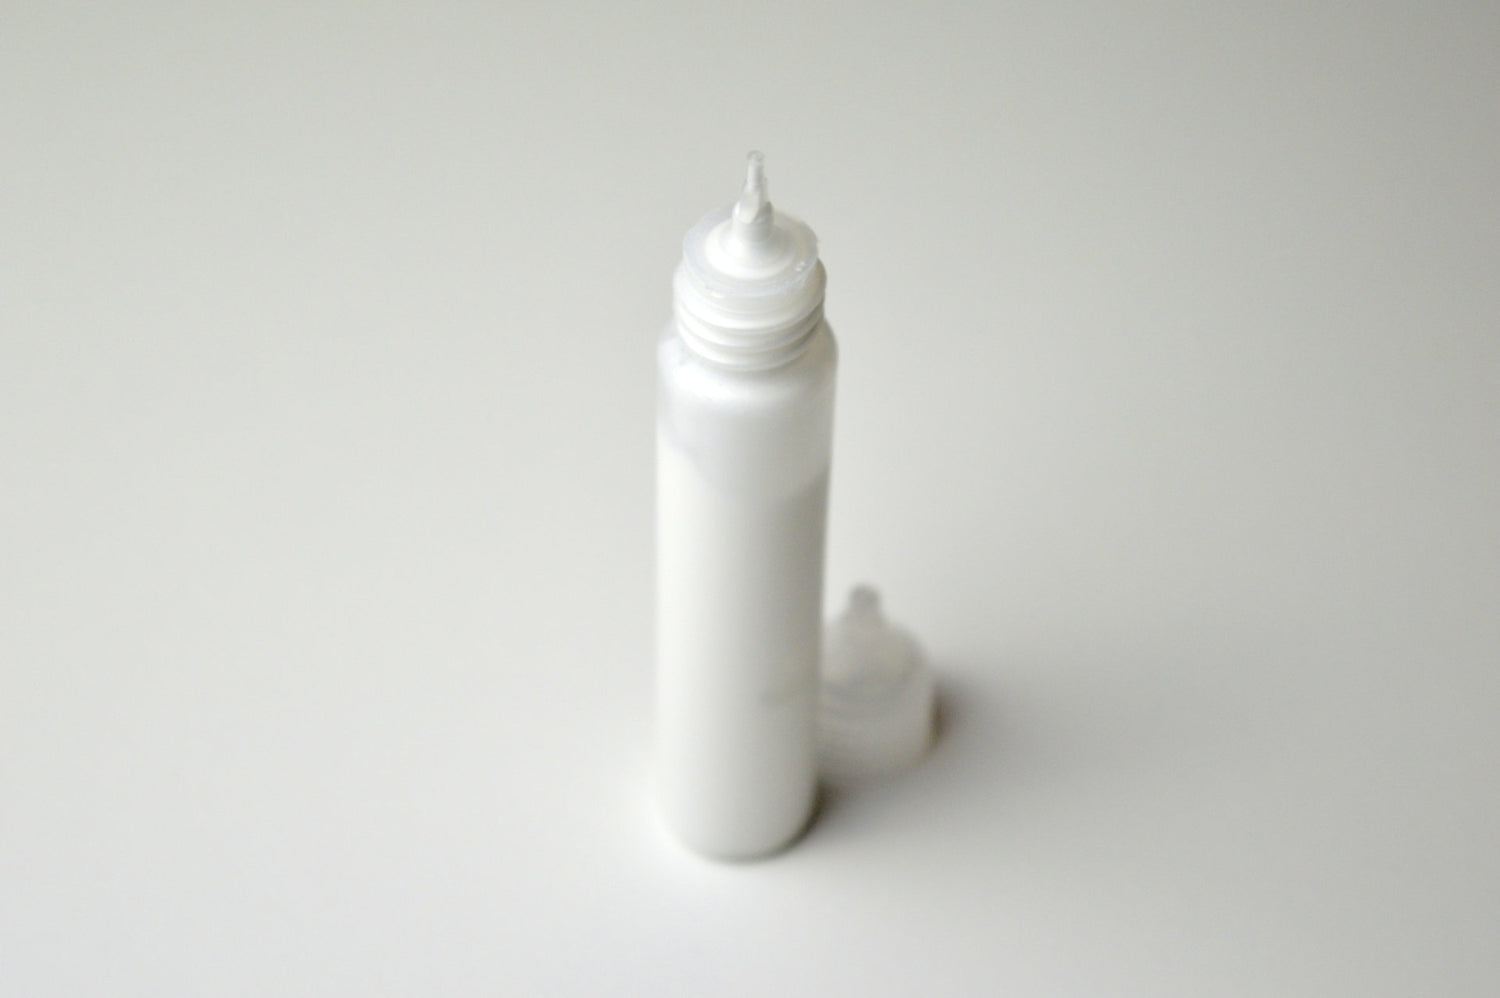
Choose the right glue
For a high-quality result, we recommend using a white, quick-drying paper adhesive with a fine opening to set targeted and not too thick adhesive tracks. An example of this is the glue shown in the picture.
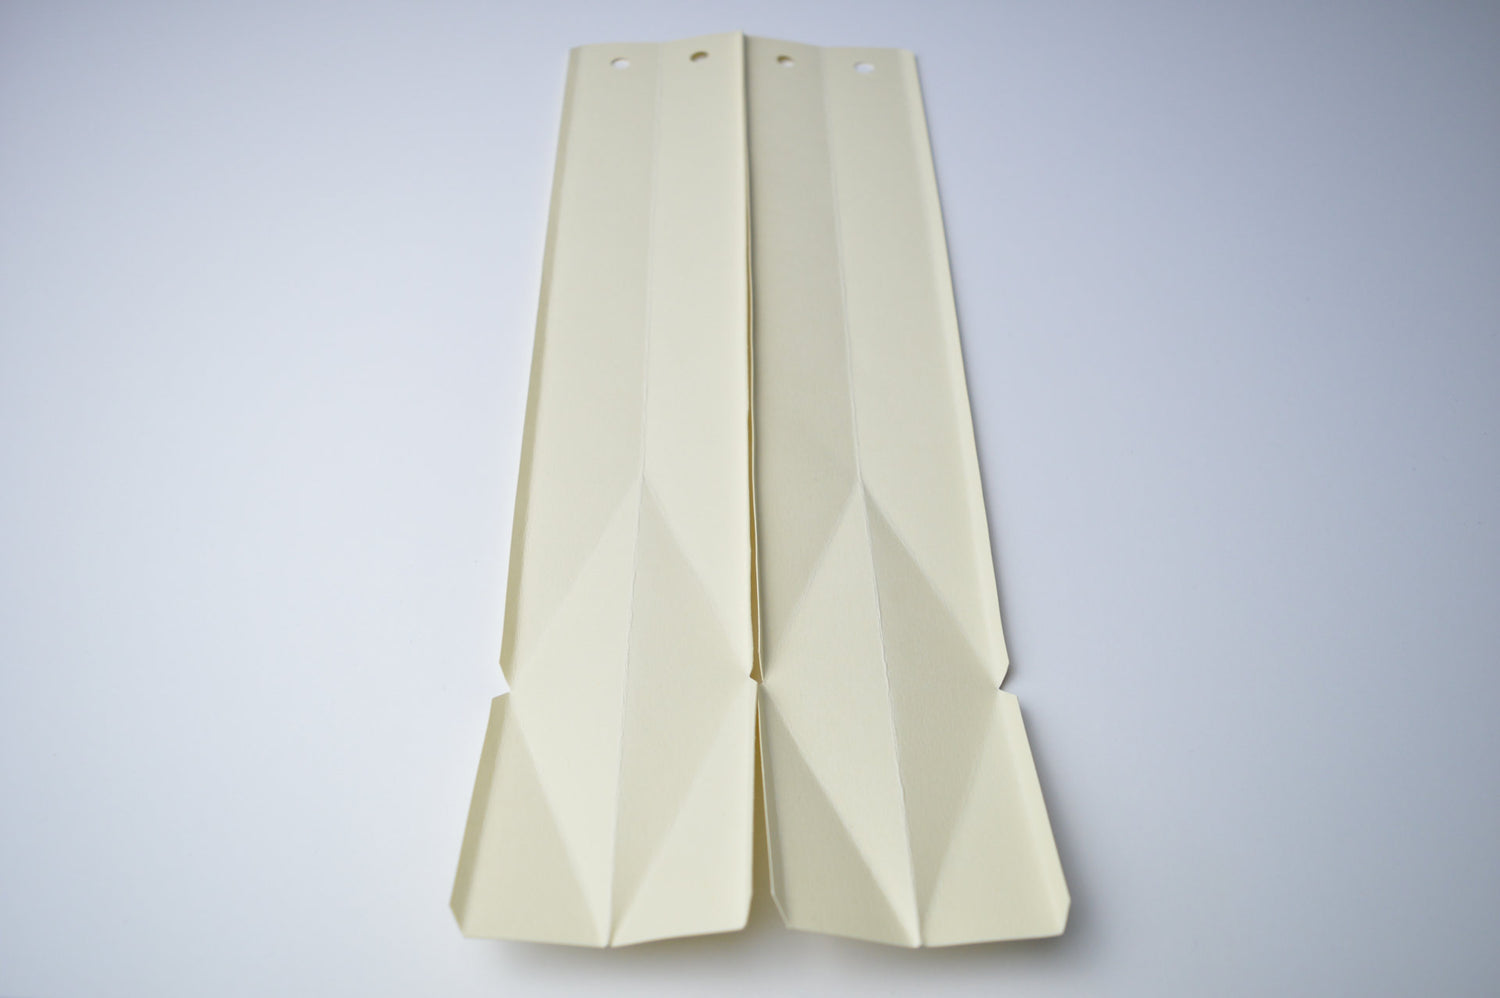
step 11
To get an idea of how the segments will end up being glued together, place two segments side by side with the two backs facing you and the glued areas protruding from the surface. Make sure the ends match up and the holes are level.
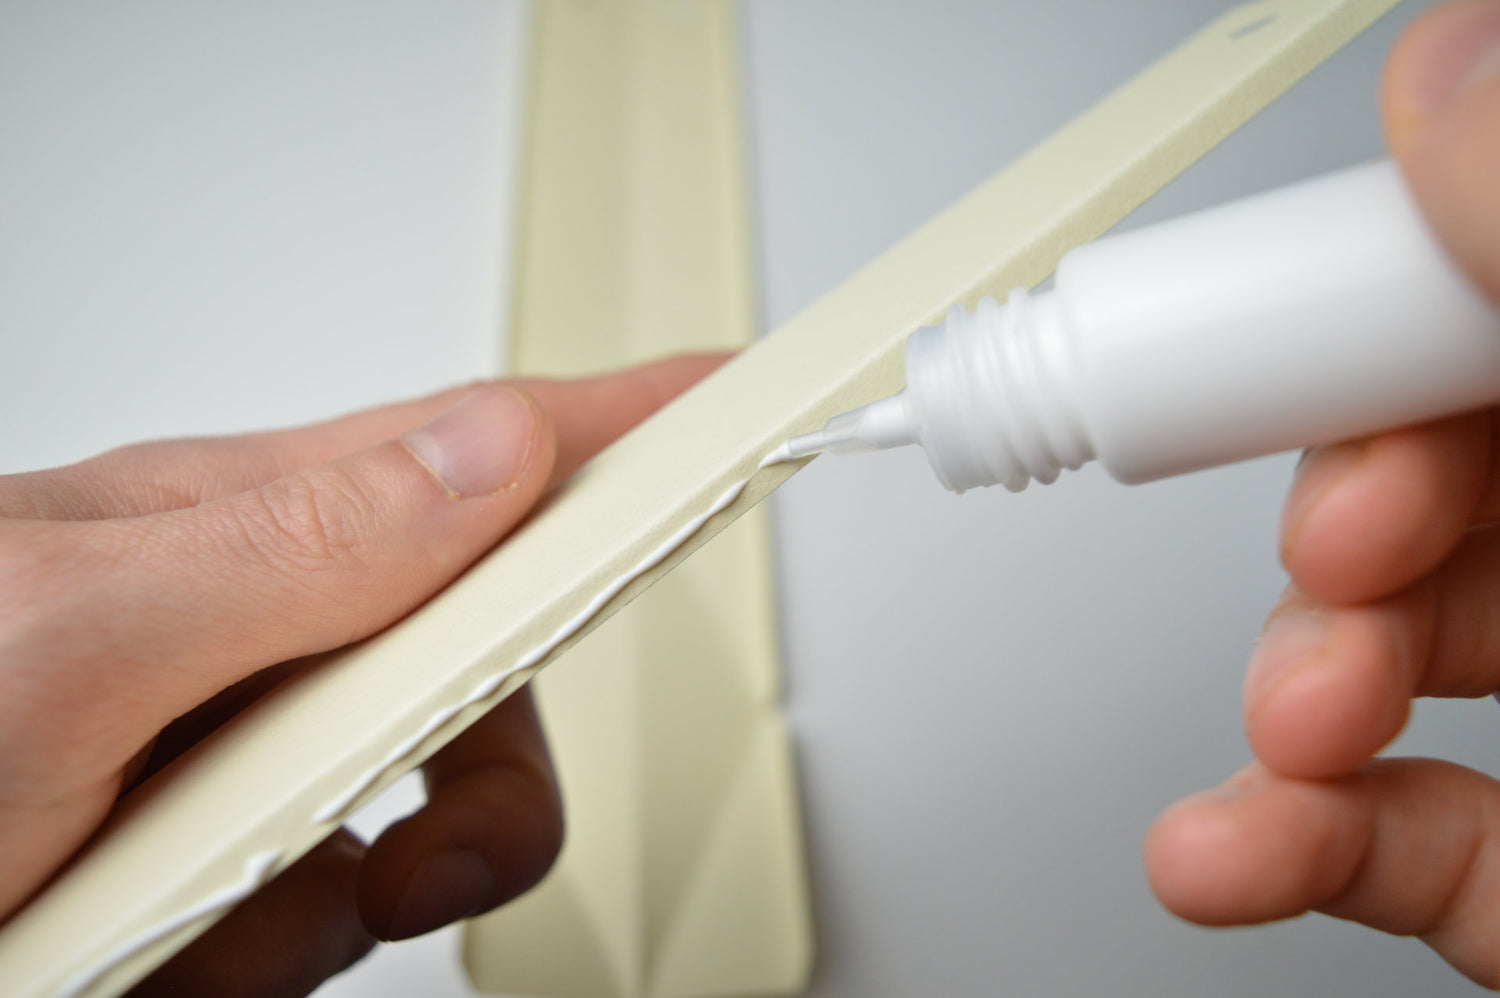
step 12
Now take the right segment in your hand and put a trace of glue on the right adhesive surface when the front side is facing you.
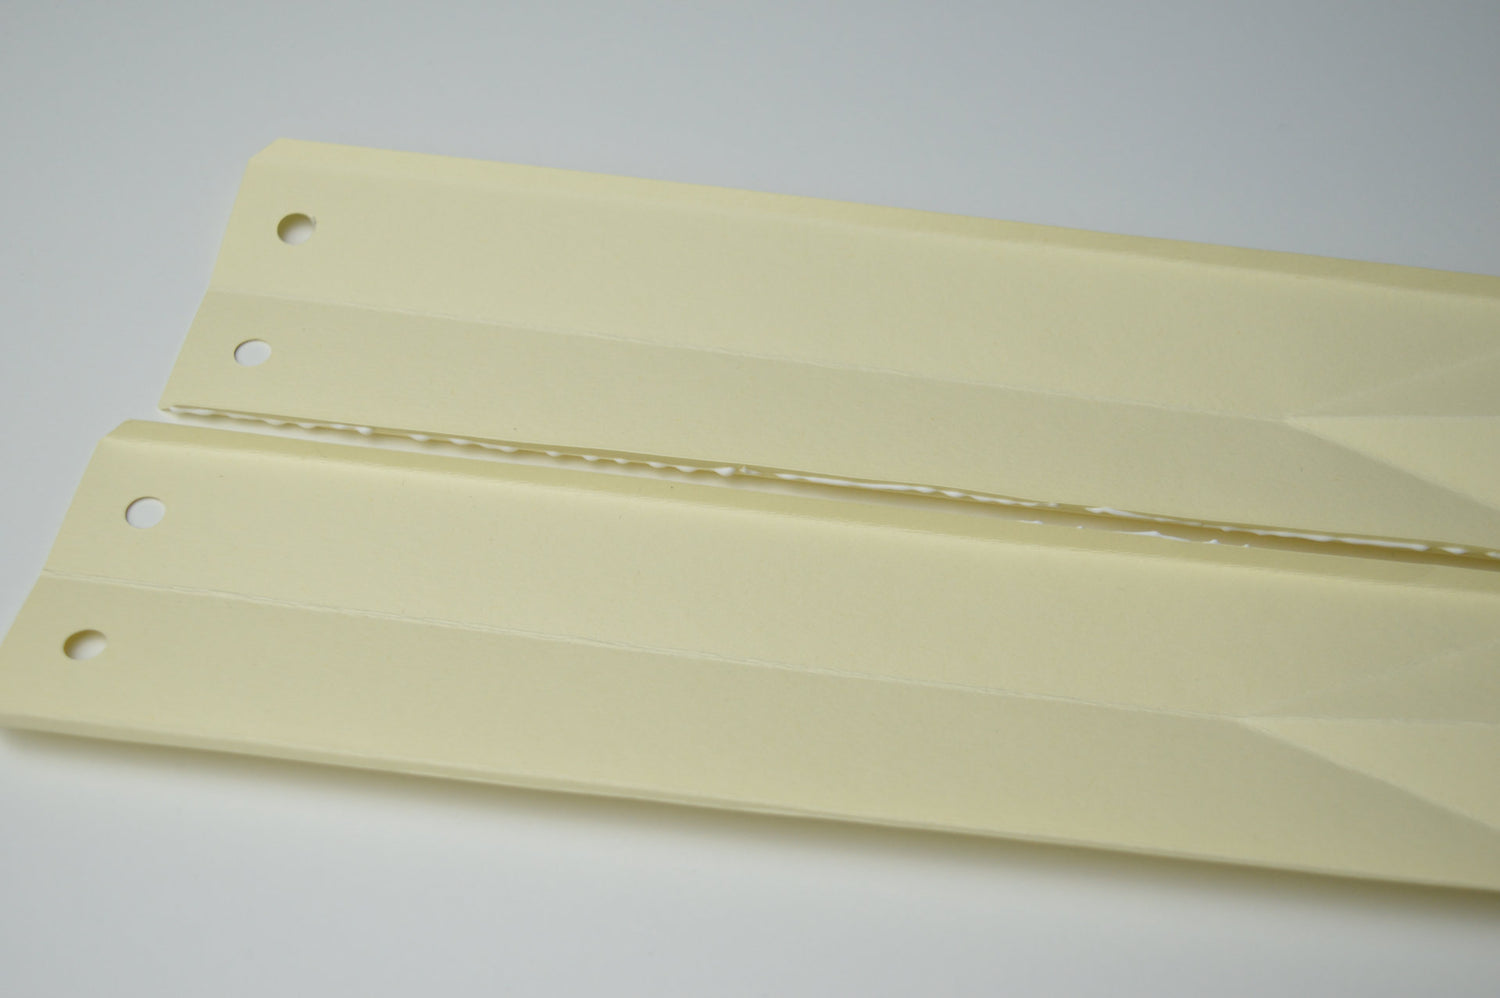
step 13
Place the two segments next to each other so that the backs are facing you.
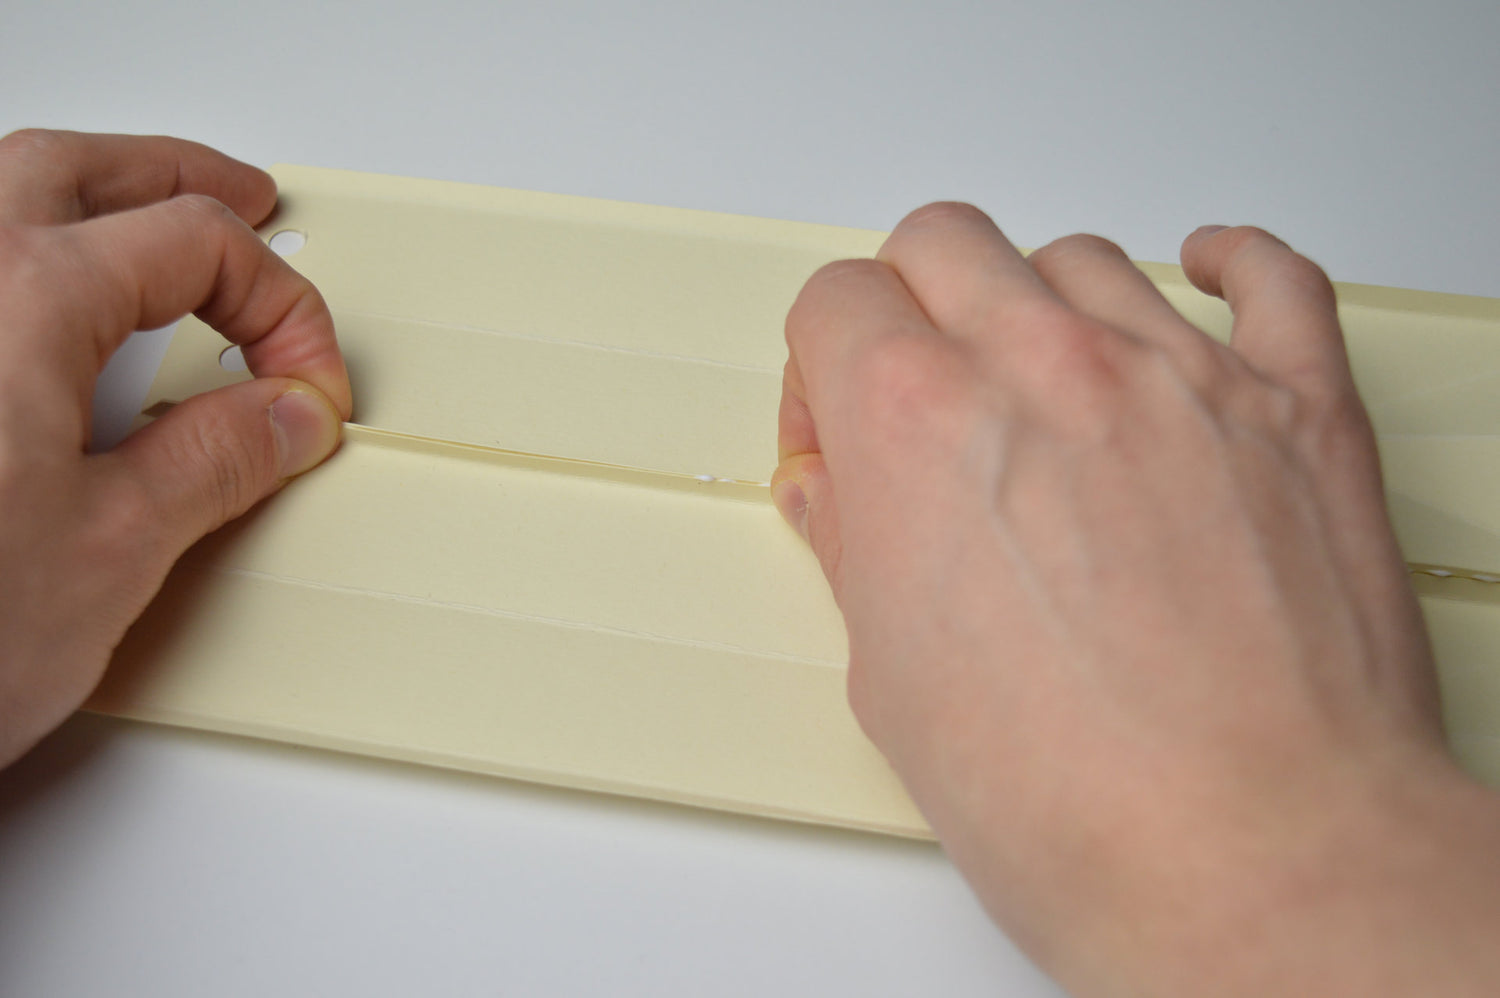
step 14
Using your thumb and forefinger, press the adhesive surfaces together firmly and glue the two segments together firmly. Work here with particularly high accuracy. The better your work at this step, the nicer the end result will be.
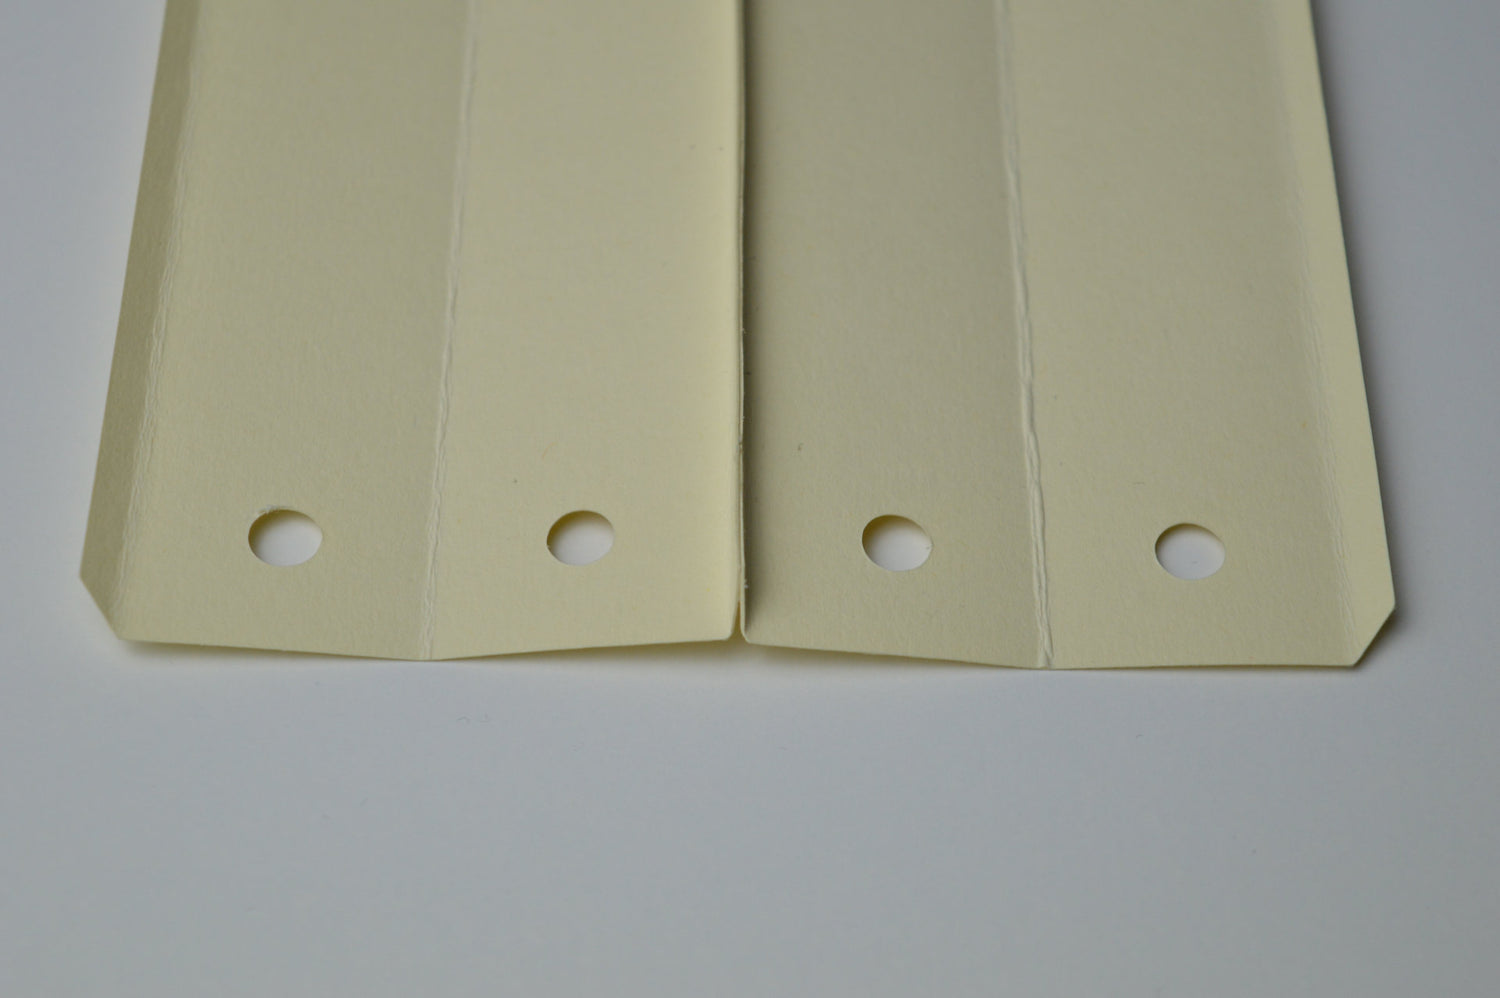
step 15
Make sure that the segments are glued together perfectly.
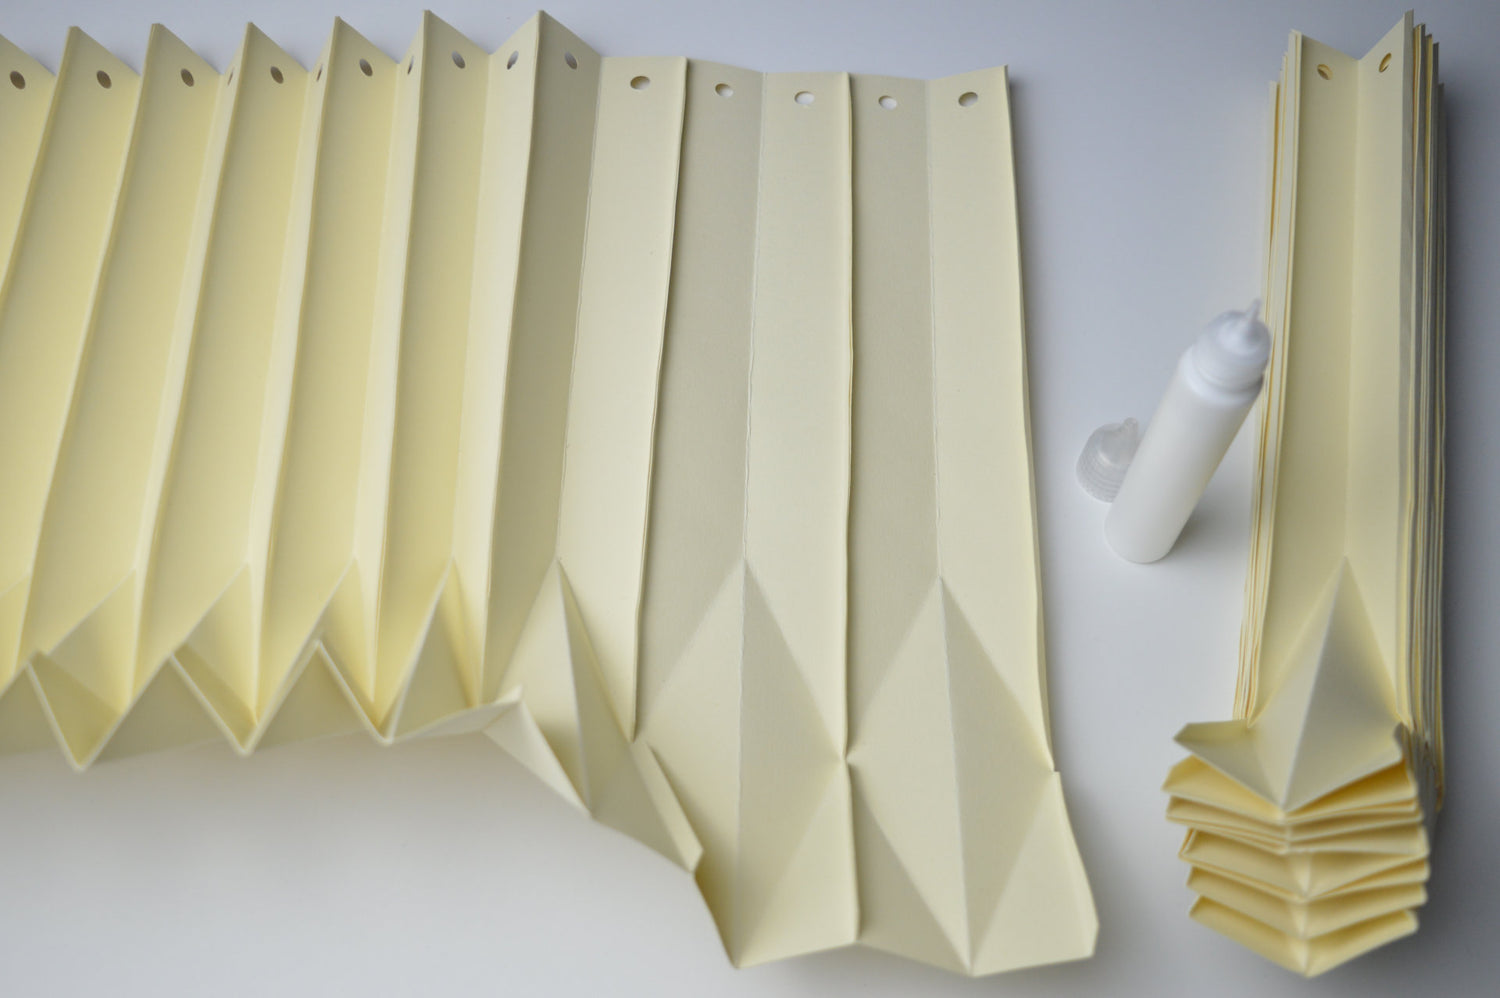
step 16
Repeat this process for all 24 segments, paying careful attention to the fit. Make sure the top and bottom edges line up exactly and don't shift up or down. Then let the segments dry on a flat surface after you've connected them all together.
When everything is dry, put each segment back into its original shape and redo the fold lines so that you can easily hold the lampshade folded like an accordion in both hands. Then, press it together firmly with both hands, making sure all folds are in place.
Caution: Do not glue the two end segments together yet!
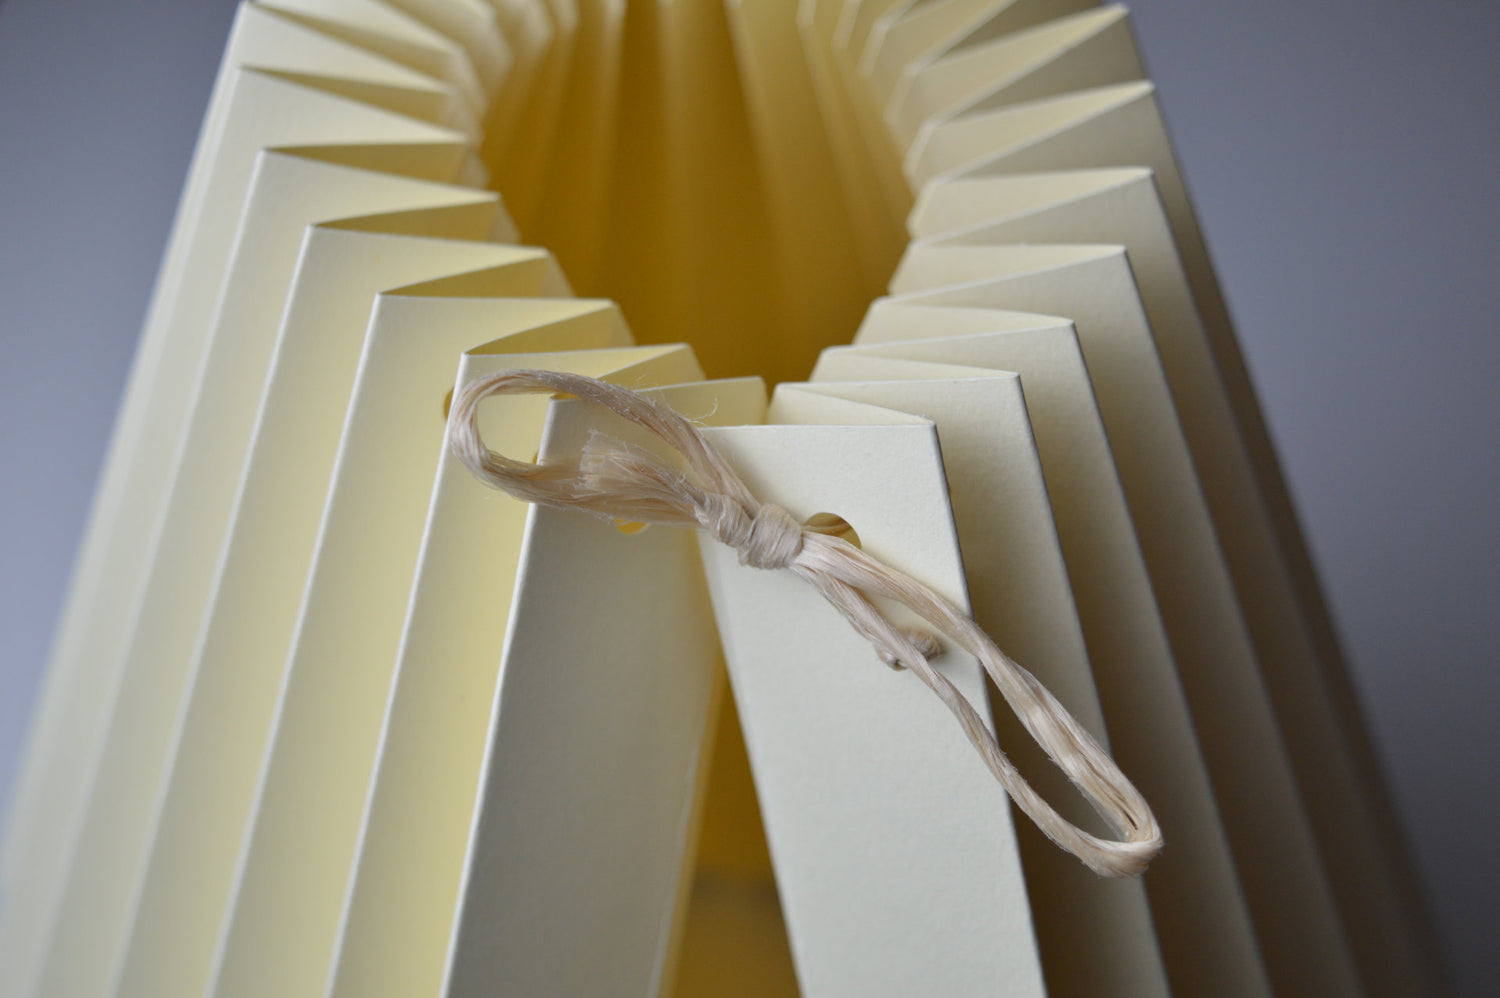
step 17
After the glue has completely hardened, thread the string through the holes provided. Make sure the folds are in the correct position.
Once the string has been threaded through all the segments, connect the two ends with a loop that can be easily reopened.
If you have chosen a Paper Lamp "Easy Installation" variant, start with this step and fold the two adhesive surfaces as shown in the instructions.
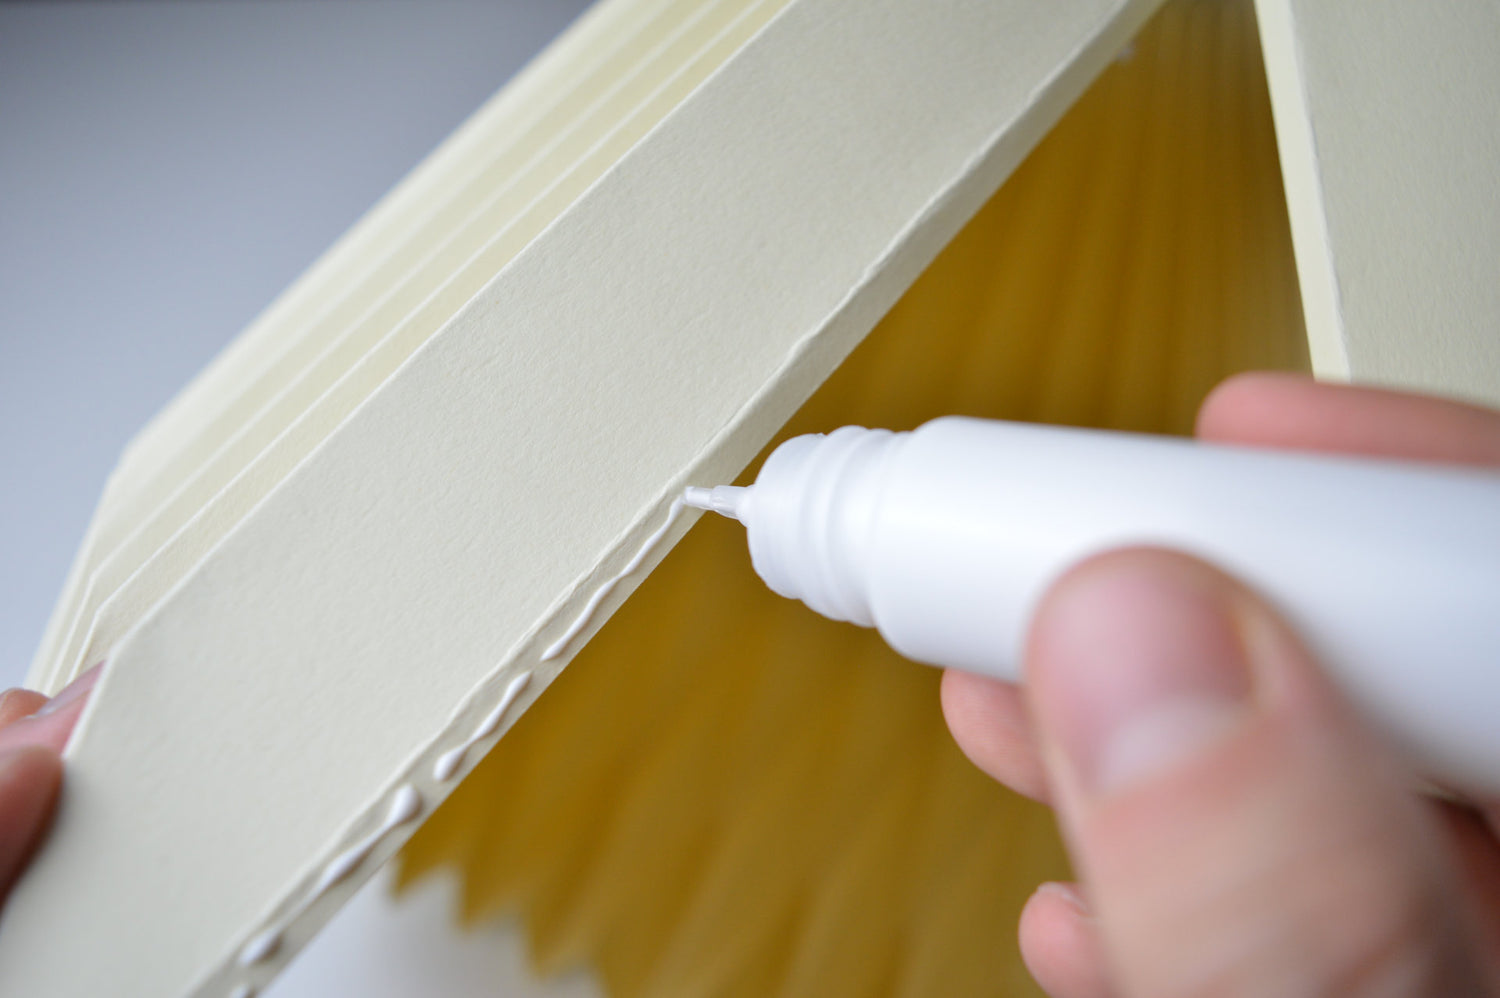
step 18
Now it's time to connect the two end segments together. Take your glue stick one last time and glue the two segments together. Pay particular attention to the accuracy of the fit, as this step can often prove to be the most difficult.
For Paper Lamp "Easy Installation" variants, remove the protection from the attached adhesive strip and stick the two ends together.
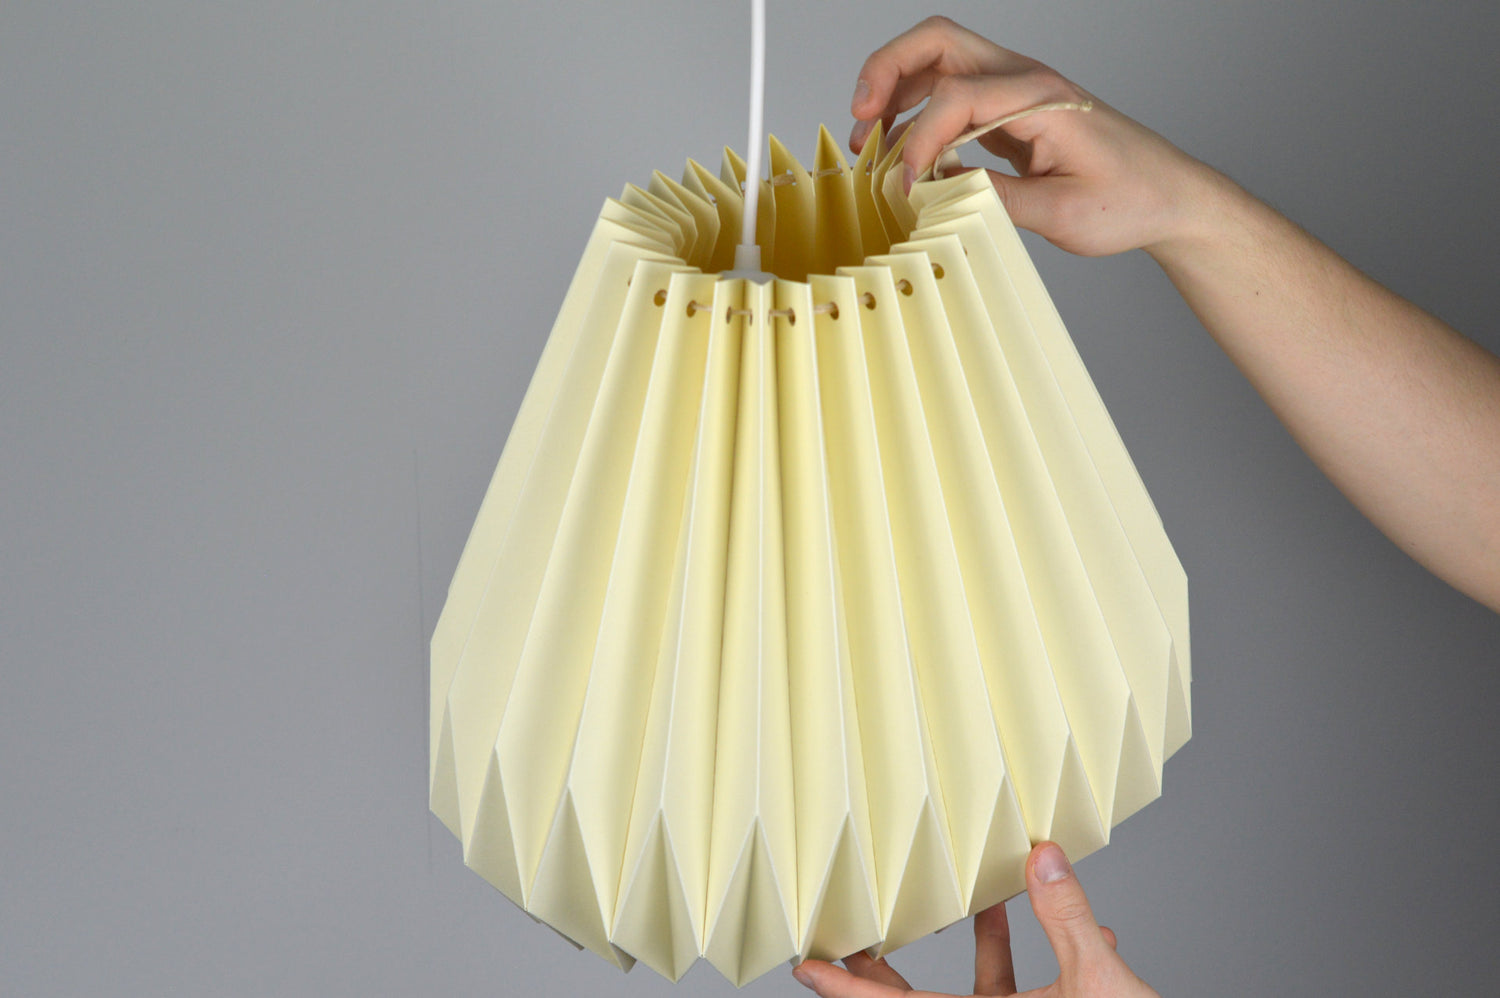
step 19
Once your lampshade is connected and dried, you can attach it to your lamp fixture.
Enlarge the opening of the lampshade with the cord until the suspension fits through without problems.
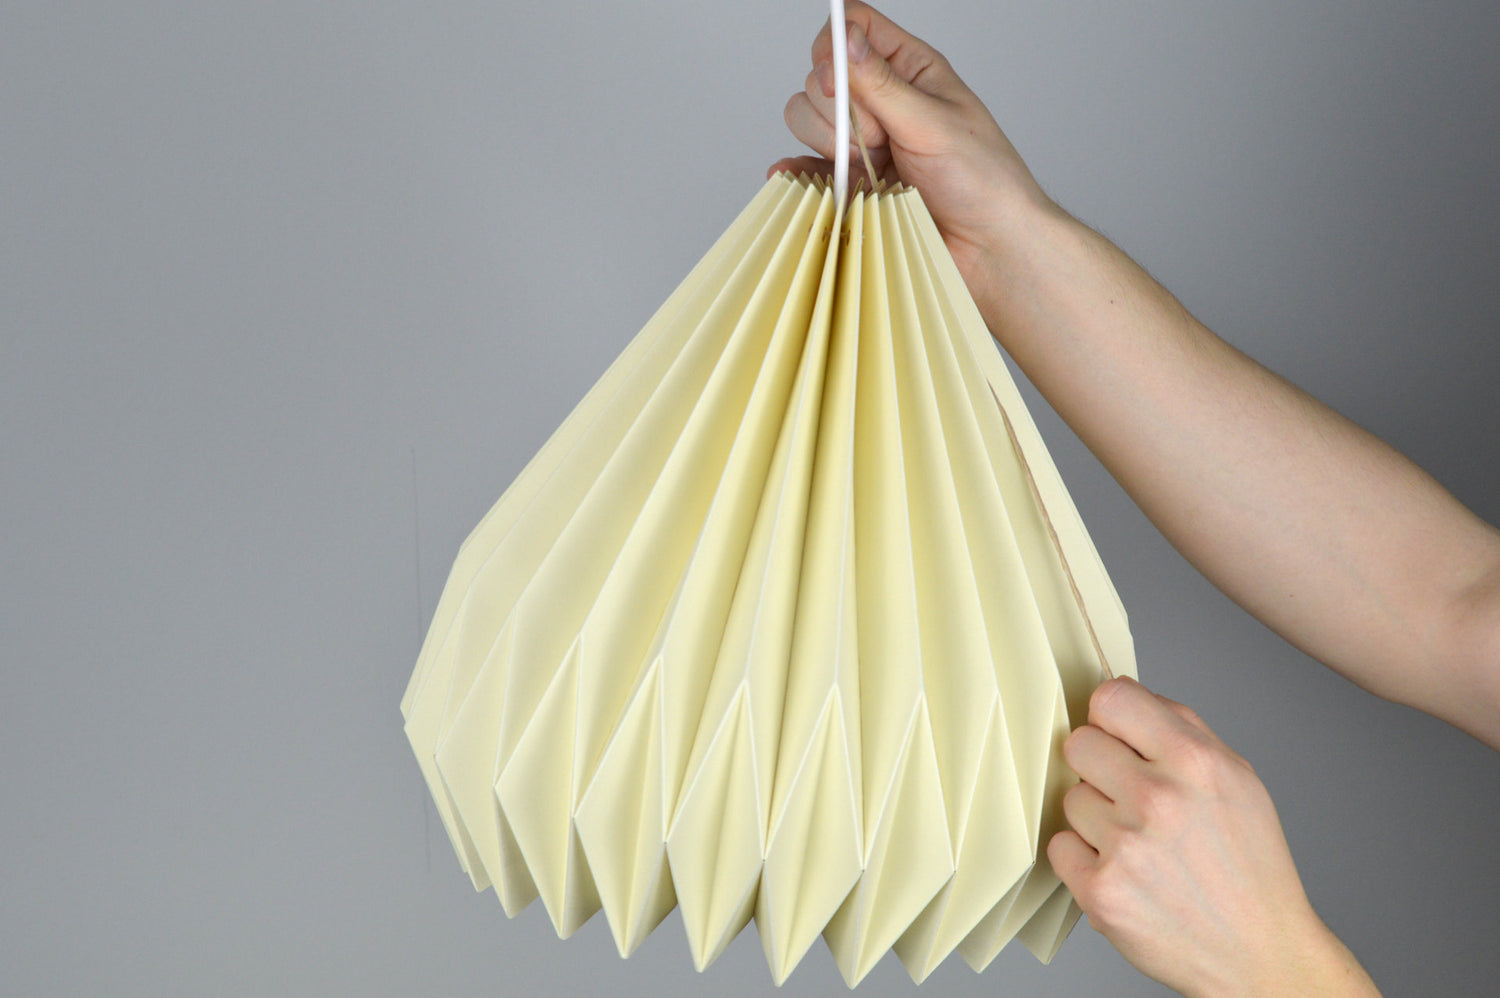
step 20
Once the lampshade is in position, pull the cord together so tightly that no damage is caused to the lampshade, but that it can rest on the lamp hanger.
The lampshade is very flexible, which is why you can increase and decrease the bottom opening as you wish. Redo the score lines to make the opening smaller or spread the opening to make it larger.
(Only use LED lamps up to a maximum of 15 watts (equivalent to approx. 100 watts) and low heat development of a maximum of 50 - 60 degrees Celsius. This corresponds to a standard LED lamp)
